


It’s time to transform your nail manicure game! If you're tired of the same old look, the best nail stickers and wraps are bursts of creativity for your fingertips. They come in a vast array of stunning designs and are hassle-free to apply. Say goodbye to boring manis and hello to a world of endless creativity!
What Are Nail Stickers Vs. Nail Wraps
In a nutshell, nail stickers cover a small part of the nail, and nail wraps cover the entire nail. But there's more to it than that. Nail stickers generally need polish underneath and on top. Meanwhile, nail wraps can be used independently of other nail treatments as they are actually dried sheets of polish with an adhesive backing.
Let's talk about nail wraps in-depth now. Later, we'll discuss nail stickers and how to use them.
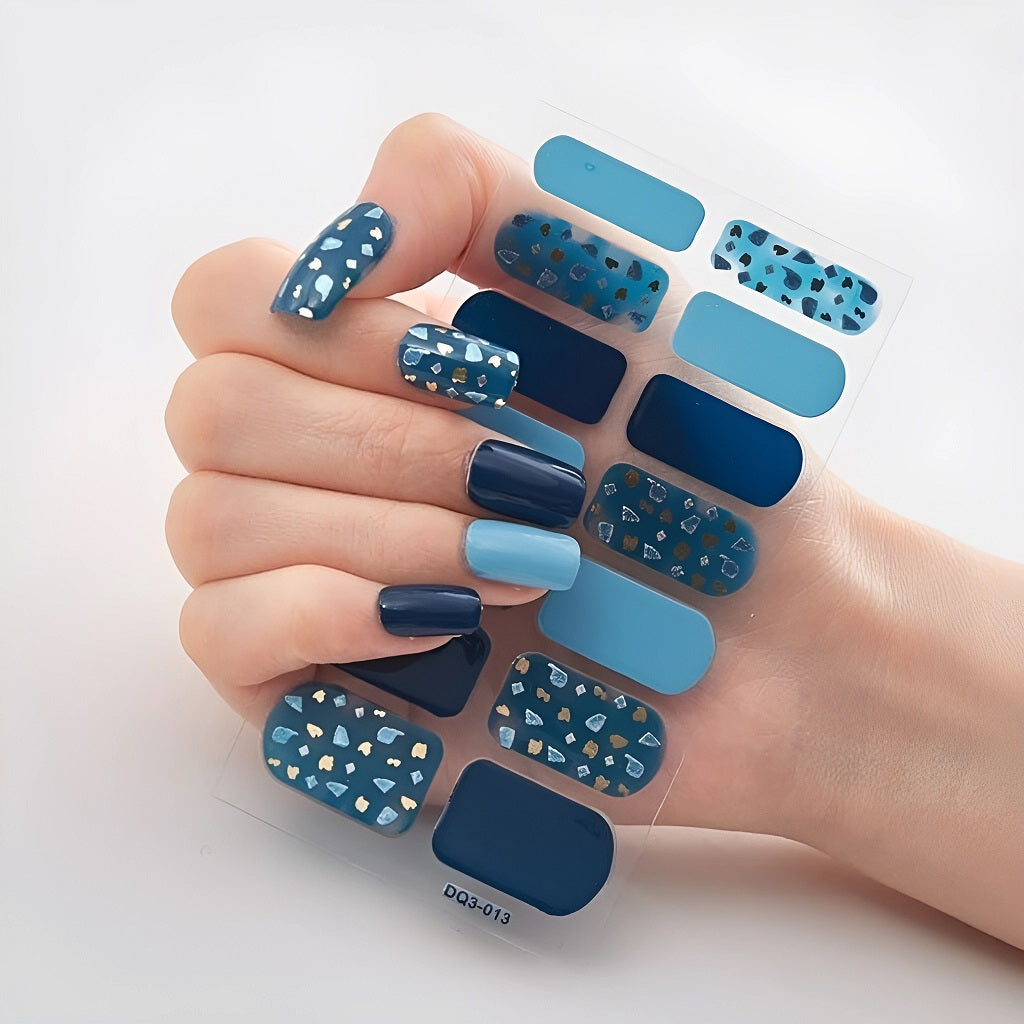
Nail Wraps
Imagine how fun it would be to paint your nails without any odor and with no wait time for them to dry. Designs you've always wanted to try will literally take just a moment to appear on your fingertips. That’s the beauty of nail wraps.
You may have seen Dashing Diva nail wraps in your local drugstore. Or maybe you're curious about NAILS OF L.A. or Color Street wraps. These popular brands offer a makeover for your nails in minutes.
When you shop for nail wraps, we suggest looking for brands that carry sizes to match your fingertips. Typically, there's an assortment of sizes in the box. You’ll still need to trim after applying them, but more on that in a moment.
Nail wraps are self-adhesive. Some are sticky when you peel them from the backing, while others require heat to activate the glue. Please be sure to check the instructions so that you have the tools you need at hand.
How to Apply Nail Wraps
Many happy nail artists say it's easier to apply nail wraps than paint nails. Even so, you'll need to prep your nails as you would for any other manicure.
- Trim, file, and buff the natural nails. If you want the wraps to look professionally done, it's critical to spend time perfecting your cuticles.
- Cleanse the nails with rubbing alcohol or acetone to remove debris and oil.
- If you have ridged nails, consider using a rubber base or ridge filler to smooth the surface. This is gentler to your nails than buffing them smooth as aggressive filing will weaken them.
- Match the nail strips against your nails to check the sizes and line up the ones you plan to use in order. Don't worry if they look too long because that's easy to fix.
- If the adhesive is heat-activated, get your hair dryer ready.
- Otherwise, peel off the protective covering from the top (if there is one). Then, strip the wrap from the backing, holding it by the tip. Grasp the side where the nail's free edge will be, not by the cuticle. Be careful not to touch the adhesive backing and ruin the stickiness. Tweezers might be helpful here.
- Press the curved end of the wrap near the cuticle. Pull it tight over the free edge of the nail. Now smooth down one side toward the tip, cross the nail, and work back toward the cuticle. You can do this with a clean fingertip or a silicone tool. We recommend avoiding orange sticks or any tool that might scratch the surface.
- Now that the wrap is in place, use scissors or cuticle nippers to trim the excess. Use a nail file to perfect the edge. Only file with a downward motion, not back and forth.
- Technically speaking, you're done at this point. But we suggest finishing with a layer or two of top coat to make the nail wraps last longer and look glossier.
- Pro Tip: Wait 6 hours before soaking your nail wraps in hot water. This allows the adhesive to set fully. Moreover, be careful when applying sunscreen with your newly wrapped mani. Weirdly, the chemicals in sunscreen may dissolve the glue.
How to Remove Nail Wraps
If you just read the pro tips at the end of the section above, you already know two ways you could accidentally remove nail wraps. A third more effective way to change your nail wrap manicure is to soak the nails in acetone, just like you would take off polish.
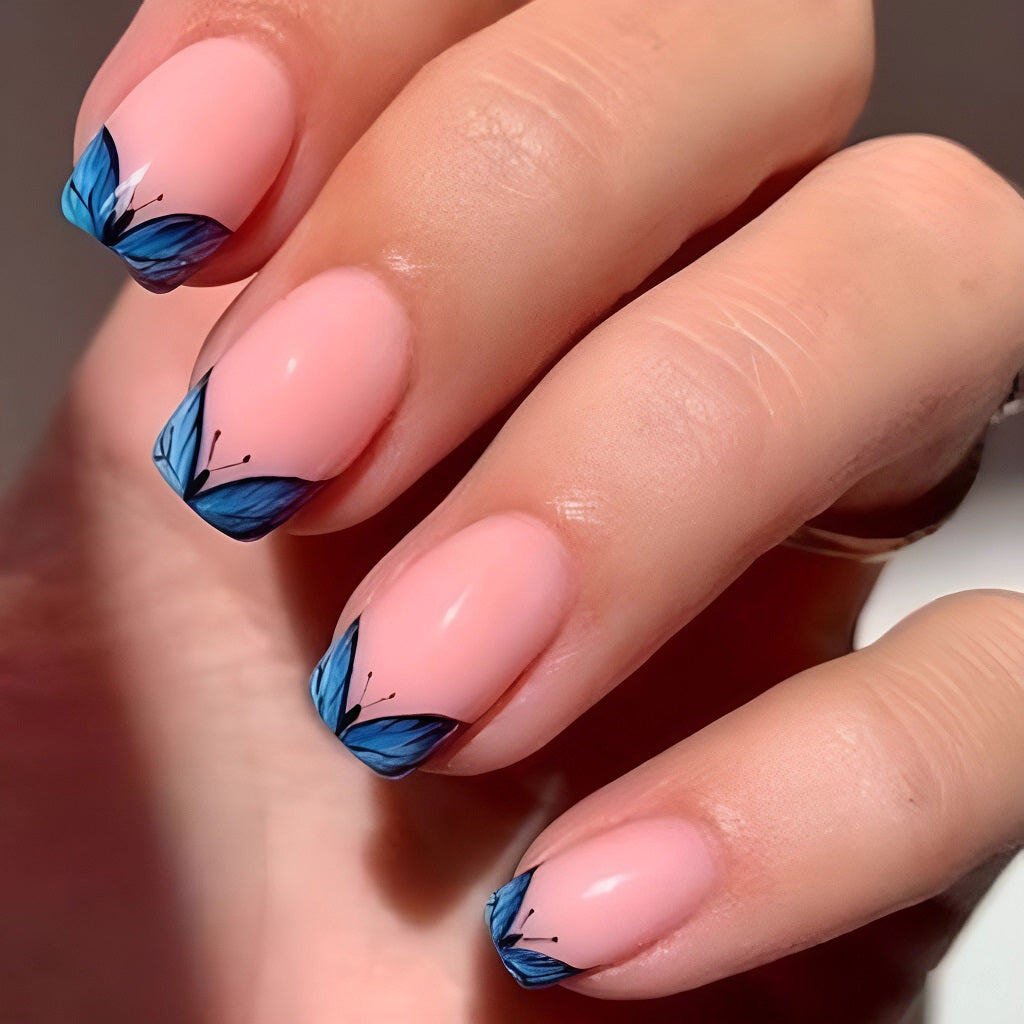
Nail Stickers
Nail stickers are perfect when you want to make dull polish look prettier. They allow you to enjoy gorgeous nail designs without needing the skills to paint them.
Although you may be able to Adhere nail stickers to your natural nails, they will last longer if you follow these steps.
How to Apply Nail Stickers
You'll need a few tools to get the most from nail stickers. Although you don't need adhesive because stickers are already sticky, you will want base and top coats and tweezers. Nail stickers are compatible with gel polish, acrylics, lacquer, and dip powder nails.
- Prepare your nails as you would for any other manicure by trimming, shaping, and cleansing them. Brush on the base coat, plus colored polish if you wish.
- Check the size of the sticker against the size of the nail.
- Peel the sticker from the backing using tweezers. Don't touch the adhesive with your fingers.
- Press the sticker into place and smooth it from the center to get rid of bubbles. A silicone tool or pencil eraser works better than an orange stick because they won't scratch the design.
- Finish with two coats of top coat to make the sticker's edges disappear and keep it looking like new for a week or more.
- Be careful soaking your hands in water or swimming, as chlorine and detergent can shorten the nail stickers’ longevity.
How to Remove Nail Stickers
Nail stickers are sticky, but they won't harm your nails. If you've covered them with a top coat, remove them like any other nail polish.
Conclusion
It’s transformative to experiment with nail wraps and nail stickers. You can have so much fun doing your nails!
If you want to play with some new colors, check out our new arrivals. Remember, we offer free shipping on all orders , so now is a great time to stock up on nail supplies.


